How to install the S2-SliderMotor
into your harrope slider?
Installing the S2-Slider and its motor is very easy. Most of the items required for the installation are included in the S2-Slider and S2-SliderMotor kits. You’ll just need scissors apart from that.
STEP 1
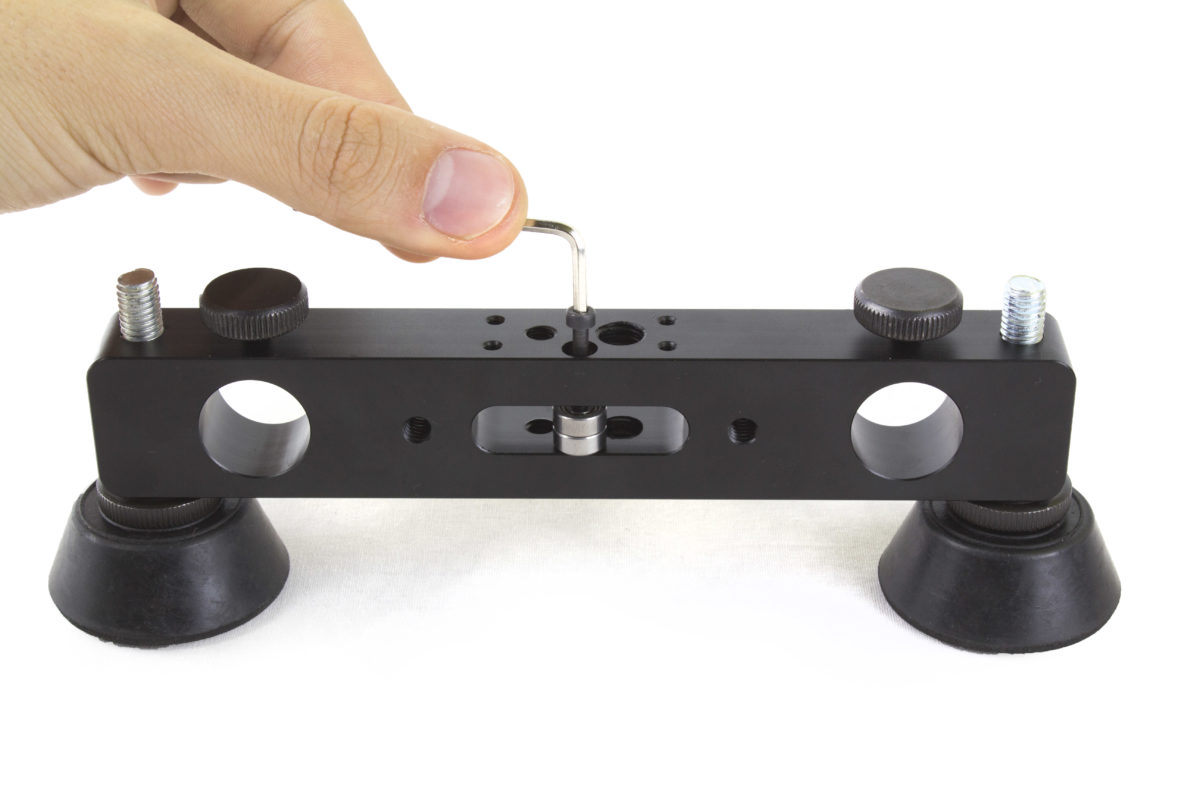
Install the two bearings and one of the screws in one of the baffles using the Allen wrench (included).
STEP 2
Use four more screws to install the motor in the other baffle. Screw them in with the same Allen wrench.
STEP 3
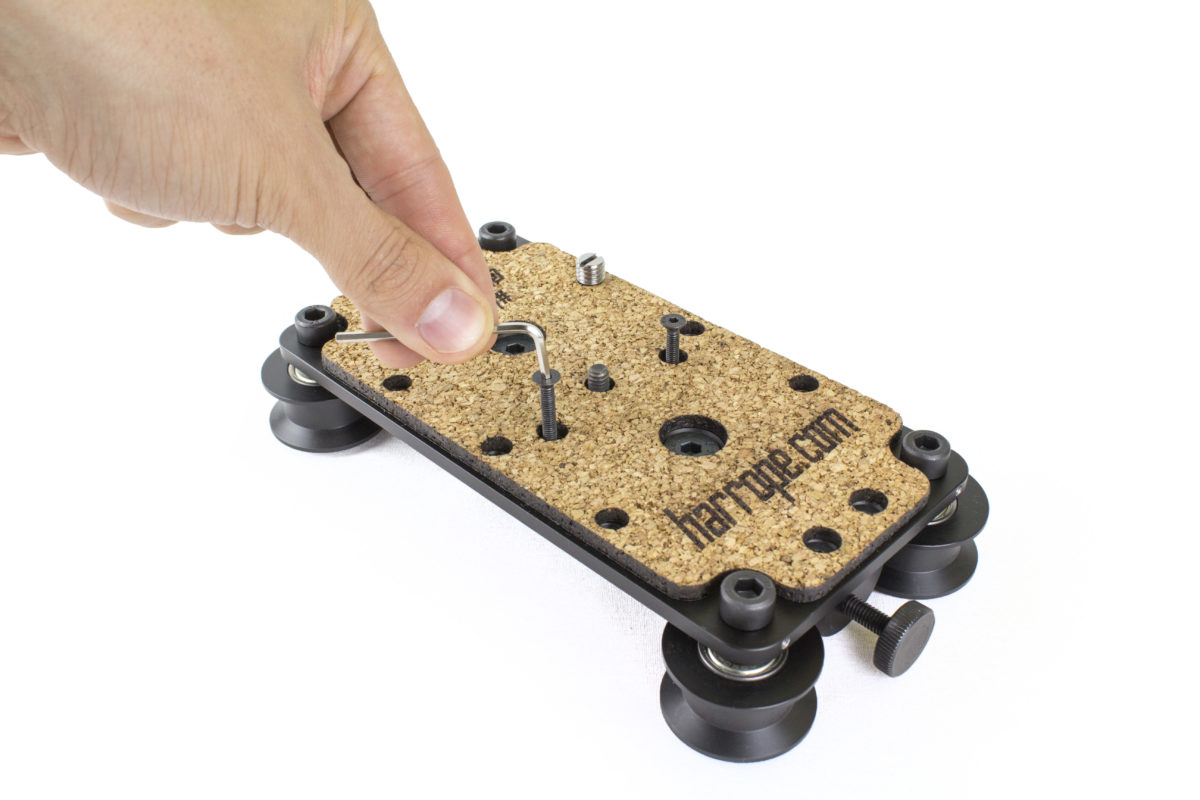
Screw the last two screws in the kit to the slider. Use the same Allen wrench to screw them in.
STEP 5
Two belts for 100 and 50cm railings are included in the kit. Pick up the belt that corresponds to the length of your slider and install it by hooking it to the edges*. Tie it up in the center using the four ties that come in the kit. After that, cut off the excess ties and belt.

STEP 6
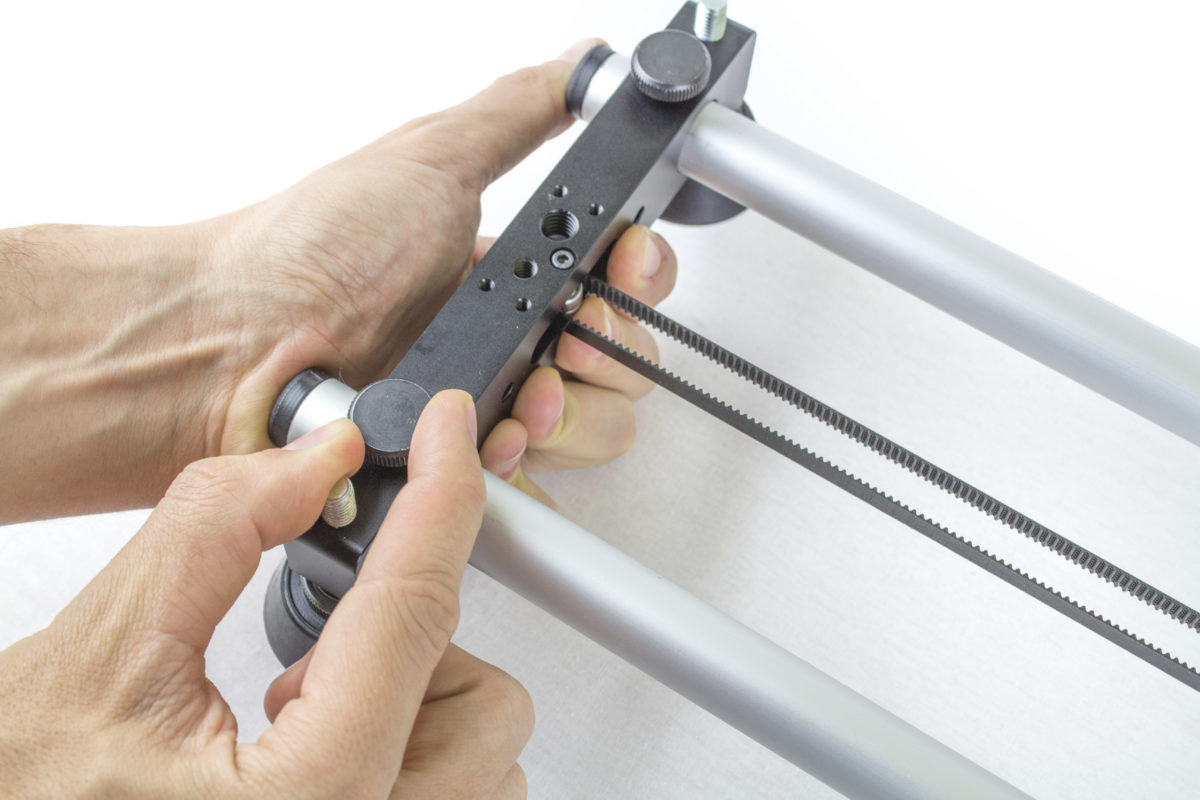
Tighten the belt, for which you’ll have to push the tubes from one side and pull them from the other. Once tightened, press the baffle to keep it tight.
*When placing the belt, keep in mind that the dented side should be put towards the inside and that the belt shouldn’t cross over itself (it shouldn’t form a figure 8 shape). The result should be as follows:


 WhatsApp